Tender Baked Chicken Cutlets: A Flavorful Dinner Option
Imagine a busy weeknight with a hungry family waiting. You need a quick, tasty meal that’s also healthy. Baked chicken cutlets in the oven are the perfect answer. They turn simple chicken into a crispy, delicious dish that everyone will enjoy.
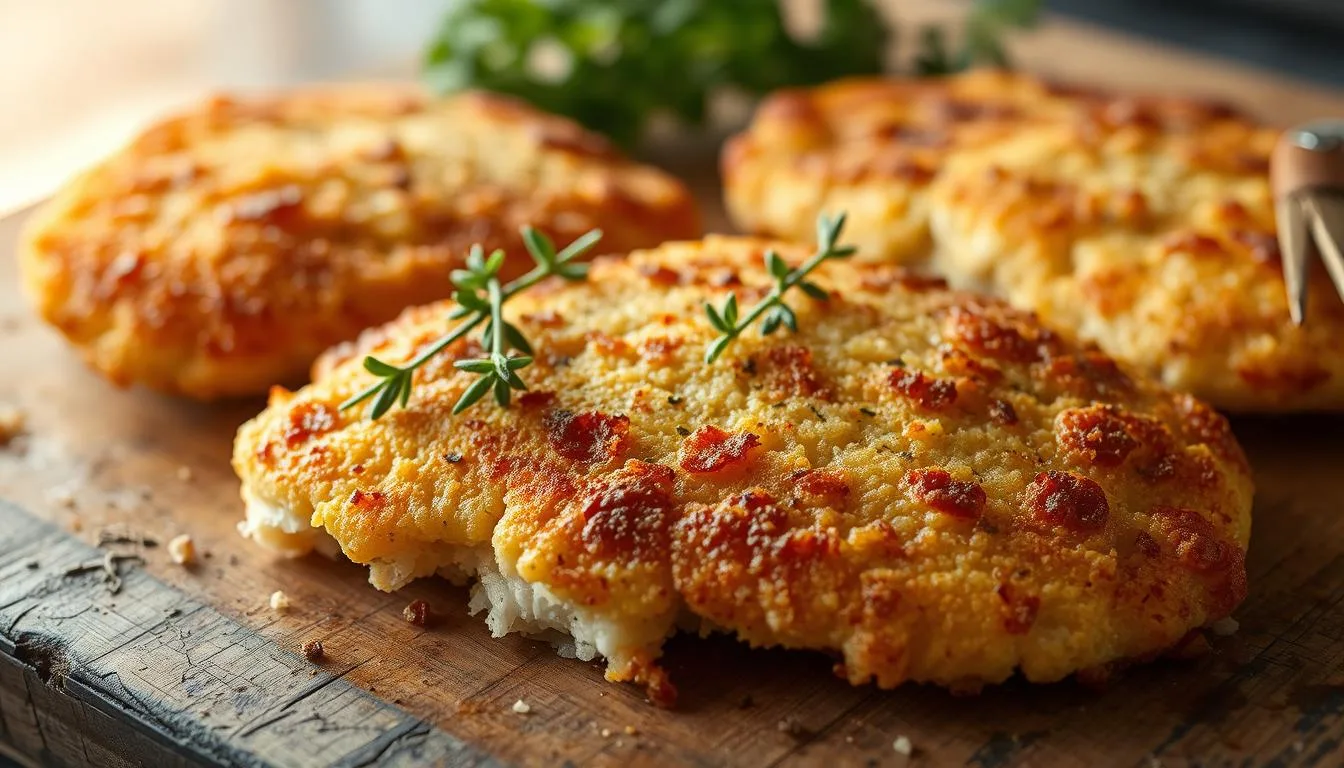
Cooking chicken cutlets in the oven is not just easy. It’s also a healthier choice than frying. With the right method, you get a crispy outside and a juicy inside. Baked chicken cutlets are a great mix of flavor, nutrition, and simplicity.
Table of Contents
Understanding the Perfect Chicken Cutlet
Chicken cutlets are a tasty and flexible protein that can make your meals better. To make great oven-baked chicken tenders, knowing how to make the perfect cutlet is key. These thin chicken slices come from boneless, skinless chicken breasts. They are pounded or sliced to be the same thickness.

What Makes a Great Chicken Cutlet
A top-notch chicken cutlet has a few important traits:
- It’s about half an inch thick
- It’s tender and juicy inside
- It has a crispy outside when cooked right
- It’s good for many cooking ways
Benefits of Baking vs. Frying
Baked chicken breast is better than frying in many ways. Baking cuts down on fat but keeps the flavor and texture great. The oven method also:
- Reduces calories
- Is healthier to make
- Guarantees even cooking
- Makes cleanup easier
Essential Equipment and Tools
To get perfect oven-baked chicken tenders, you’ll need some important tools:
- A meat mallet for even pounding
- A sharp kitchen knife
- A baking sheet with a wire rack
- Parchment paper
- A meat thermometer
Pro tip: Good equipment makes a big difference in making chicken cutlets and cooking in general.
Ingredients for Perfectly Crispy Chicken Cutlets in Oven

Starting your chicken Milanese recipe is all about picking the right ingredients. You need a mix of pantry staples to turn simple chicken into a crispy, tasty dish.
Here’s what you’ll need for your chicken Milanese:
- 1 lb thin chicken breasts
- 1 cup seasoned panko breadcrumbs
- 1/3 cup grated Parmesan cheese
- 1/2 cup all-purpose flour
- 2 large eggs
- 1 tsp garlic powder
- 1/2 tsp dried parsley
- 1/2 tsp kosher salt
- 1/4 tsp black pepper
Each item is key to getting that perfect crispy texture and flavor. The flour makes a smooth base, eggs help the breadcrumbs stick, and panko breadcrumbs add the crunch.
Pro tip: Choose fresh, high-quality ingredients to elevate your chicken Milanese from good to extraordinary.
Preparing Your Chicken for Breading
To make perfect parmesan-crusted chicken cutlets, start with the right chicken prep. The secret to tasty italian-style baked chicken cutlets is in the uniform thickness and precise cuts.
Getting your chicken ready for breading needs focus and certain steps. You want cutlets that cook evenly and stay tender.
Proper Pounding Techniques
Pounding chicken breasts makes them all the same thickness. Here’s how to do it:
- Place chicken between plastic wrap or parchment paper
- Use a meat mallet or rolling pin
- Pound gently from center outwards
- Aim for 1/4 to 1/2 inch thickness
Butterflying and Cutting Tips
Butterflying chicken breasts is another way to make thin cutlets:
- Place chicken breast on cutting board
- Hold knife parallel to board
- Slice horizontally through center
- Open breast like a book
Achieving Even Thickness
Even thickness is key for perfect parmesan-crusted chicken cutlets. Uneven cuts can make parts dry or undercooked.
| Technique | Benefits | Recommended Thickness |
|---|---|---|
| Pounding | Uniform cooking | 1/4 inch |
| Butterflying | Creates thin cutlets | 1/2 inch |
| Slicing | Portion control | 3-4 oz per cutlet |
Master these techniques to take your italian-style baked chicken cutlets to the next level.
The Ultimate Breading Station Setup
Setting up the perfect breading station is key for tasty chicken cutlets. It’s all about how you organize your space. You’ll need three shallow dishes to coat your chicken right.
Here’s what you’ll need for your breading station:
- Shallow dish 1: All-purpose flour
- Shallow dish 2: Beaten eggs
- Shallow dish 3: Seasoned breadcrumb mixture
- Clean landing plate for finished cutlets
Professional chefs suggest the dry hand/wet hand technique. It keeps your hands clean. Use one hand for dry stuff (flour and breadcrumbs) and the other for wet (eggs).
Your breading sequence should follow this exact order:
- Chicken cutlet
- Flour coating
- Egg wash
- Breadcrumb mixture
- Landing plate
Pro tip: Let your breaded chicken rest for about 30 minutes before cooking. This helps the breading stick better. It also makes the outside crispy for your healthy baked chicken cutlet.
A well-organized breading station is the secret to restaurant-quality chicken cutlets at home!
Secret to Crispy Panko-Parmesan Coating
Creating the perfect crispy coating for baked chicken cutlets is an art. It turns an ordinary meal into a culinary delight. The key is mastering the breading technique for irresistibly crunchy and flavorful chicken cutlets.
Mixing the Perfect Breadcrumb Blend
Your baked chicken cutlets need an exceptional coating. The magic starts with panko breadcrumbs, which are lighter and crispier. Mixing them with freshly grated Parmesan cheese creates a golden, crisp exterior that seals in the chicken’s moisture.
- Use high-quality panko breadcrumbs for maximum crunch
- Grate Parmesan cheese fresh for the best flavor
- Aim for a 2:1 ratio of panko to Parmesan
Adding Herbs and Seasonings
Elevate your chicken cutlets in oven with herbs and spices. Dried herbs like parsley, thyme, and oregano can turn your basic breading into a flavor-packed coating.
- Garlic powder adds depth
- Black pepper provides a subtle kick
- Dried basil complements the Parmesan beautifully
Temperature and Timing Tips
Achieving the perfect crispy exterior needs attention to temperature and timing. Preheat your oven to 425°F and place the baking sheet in the oven while it heats. This ensures an immediate crisp when the chicken hits the hot surface.
- Bake for 15-20 minutes
- Flip cutlets halfway through cooking
- Internal temperature should reach 165°F
Step-by-Step Baking Process
Making oven-baked chicken tenders needs care and skill. With the right steps, your chicken will be golden and crispy. Here’s how to get restaurant-quality chicken in your kitchen.
First, prepare your chicken cutlets for baking. This involves several important steps:
- Preheat your oven to 400°F (204°C) for the best crispiness
- Line a baking sheet with parchment paper or a wire rack
- Place breaded chicken cutlets with space between each
- Lightly spray or brush cutlets with olive oil for extra golden color
The baking process is key for perfectly cooked chicken. Temperature and timing are crucial for crispy, juicy cutlets.
| Chicken Type | Baking Time | Internal Temperature |
|---|---|---|
| Thin Cutlets | 15-20 minutes | 165°F |
| Thick Cutlets | 20-25 minutes | 165°F |
Pro tip: Always use a meat thermometer to ensure your chicken reaches the safe internal temperature of 165°F.
Flipping your oven-baked chicken tenders halfway through cooking helps achieve even browning. This technique improves texture and ensures your crispy baked chicken breast is perfectly cooked on all sides.
- Check chicken at 15-minute mark
- Rotate baking sheet for uniform cooking
- Look for golden-brown exterior
After baking, let your chicken rest for 5 minutes before serving. This allows juices to redistribute, keeping your cutlets moist and delicious.
Best Sauces and Accompaniments
Make your chicken milanese recipe shine with the right sauces and sides. These can turn a simple dish into a feast for the senses. The perfect pairings can elevate your parmesan-crusted chicken cutlets to new heights.
Classic Sauce Pairings
Traditional sauces highlight the flavors of chicken cutlets. Here are some favorites:
- Marinara sauce with fresh basil
- Lemon-butter sauce
- Classic garlic aioli
Modern Sauce Variations
Try new flavors to spice up your chicken milanese recipe:
- Spicy chipotle mayo
- Creamy avocado crema
- Herb-infused chimichurri
Complementary Side Dishes
| Side Dish | Preparation Time | Flavor Profile |
|---|---|---|
| Sautéed Broccolini with Garlic | 15 minutes | Light, Zesty |
| Creamy Parmesan Rice | 30 minutes | Rich, Comforting |
| Honey Butter Skillet Corn | 15 minutes | Sweet, Buttery |
“The secret to an amazing meal is balancing flavors and textures.” – Culinary Expert
Pro tip: Don’t be afraid to try new sauces and sides. Find the perfect match for your parmesan-crusted chicken cutlets. It’s all about creating a memorable flavor experience!
Storage and Reheating Guidelines
Keeping your chicken cutlets tasty means storing and reheating them right. Learning how to store and reheat your baked chicken cutlets is key. It keeps the flavor strong and food safe.
Refrigeration Best Practices
Let your chicken cutlets cool down before you store them. Put them in an airtight container to keep them crispy. They’ll stay good for 3-4 days in the fridge at 40°F or below.
Freezing Techniques
- Cool cutlets to room temperature before freezing
- Wrap individual cutlets in plastic wrap
- Store in freezer-safe containers or zip-top bags
- Freeze for up to 4 months
Reheating Methods
To keep your chicken cutlet crispy, don’t use the microwave. Try these methods instead:
- Oven: Preheat to 375°F, place cutlets on a baking sheet
- Air fryer: Heat at 350°F for 3-4 minutes
- Toaster oven: Reheat at 350°F until warmed through
Food Safety Tips
Make sure your chicken is hot enough when you reheat it. It should be 165°F. Look out for signs of spoilage like color changes, bad smell, or slimy feel. If it looks or smells off, throw it away to avoid getting sick.
| Storage Method | Duration | Best Practices |
|---|---|---|
| Refrigeration | 3-4 days | Airtight container, 40°F or below |
| Freezing | Up to 4 months | Wrapped individually, freezer-safe storage |
Pro tip: Label your containers with the date of preparation to track freshness and ensure optimal taste in your easy chicken cutlet recipes.
Serving Suggestions and Meal Ideas
Your italian-style baked chicken cutlets are incredibly versatile. They offer multiple delicious serving options for any meal. With just 30 minutes of preparation time, you can transform these panko-crusted chicken cutlets into exciting dishes. These dishes will delight your family and guests.
Consider these creative serving suggestions:
- Classic Chicken Parmesan with marinara sauce and melted mozzarella
- Sliced over fresh garden salads for a protein-packed lunch
- Stuffed into warm sandwiches or wraps
- Served alongside roasted vegetables and quinoa
- Topped with creamy mushroom sauce for an elegant dinner
Family-friendly meal ideas include cutting the panko-crusted chicken cutlets into strips. This makes kid-approved chicken tenders. You can also use them as a protein base for grain bowls. About 50% of recipes suggest serving chicken cutlets over rice or in sandwiches. This makes them an adaptable meal option.
For more sophisticated presentations, try an Italian-inspired approach. Garnish your baked chicken cutlets with fresh basil, grated Parmesan, and a drizzle of extra virgin olive oil. These subtle touches can elevate your dish from simple to spectacular.
Troubleshooting Common Issues
Preparing chicken cutlets in the oven can sometimes present challenges. Understanding common issues will help you create perfectly baked chicken cutlets every time.
Preventing Breading Problems
When making baked chicken cutlets, breading can be tricky. Here are some key solutions:
- Ensure dry chicken surface before breading
- Press breading firmly onto the meat
- Use a wire rack for even air circulation
- Avoid overcrowding the baking sheet
Moisture and Texture Challenges
Dry chicken is a common complaint when baking chicken cutlets. To maintain moisture:
- Brine chicken for 30 minutes before cooking
- Use a meat thermometer to check internal temperature
- Remove from oven when internal temperature reaches 165°F
- Let chicken rest for 5-10 minutes after baking
Achieving Perfect Browning
Uneven browning can ruin your baked chicken cutlets. Try these tips:
- Preheat oven to 425°F for crispy exterior
- Use panko breadcrumbs for extra crunch
- Lightly spray cutlets with cooking oil
- Rotate baking sheet midway through cooking
By following these troubleshooting tips, you’ll master the art of creating delicious baked chicken cutlets. They will have a perfectly crispy coating and juicy interior.
Conclusion
Making tasty easy chicken cutlet recipes is easier than you think. Just learn simple steps like cutting the chicken right and breading it well. This turns a plain chicken breast into a meal fit for a restaurant.
Start by picking good ingredients and learning how to prepare them. Pound the chicken right and coat it with panko-parmesan for a crunchy outside. Thin chicken breasts cook faster and soak up flavors better.
Try out different seasonings and ways to serve your cutlets. This will boost your cooking confidence. Whether it’s a weeknight dinner or a special occasion, these recipes are both easy and delicious. With practice, your baked chicken will be as good as any restaurant’s.
Homemade chicken cutlets let you choose what goes in and keep oils low. You can also make flavors your own. Enjoy the cooking journey, stay open to new things, and make meals that everyone will love.
FAQ
How long do I bake chicken cutlets in the oven?
Can I make chicken cutlets ahead of time?
How do I keep the breading crispy when baking?
What’s the best way to pound chicken for cutlets?
Can I use different types of breadcrumbs?
How do I prevent the breading from falling off?
Are baked chicken cutlets healthier than fried?
What internal temperature indicates a fully cooked chicken cutlet?
How long can I store leftover baked chicken cutlets?
Can I freeze breaded chicken cutlets?
Your opinion matters: What do you think of these recipes?
There are no reviews yet. Be the first one to write one.